

How to Install a Humidifier
 A whole-house humidifier can be the solution for those who are prone to sinus infections or respiratory conditions such as asthma and allergies.
A portable humidifier is an alternative but it can be a space-hog, noisy and difficult to keep clean. Installing a whole-house humidifier is a viable, do-it-yourself option.
Pre-Installation
 Ensure that the temperature within the vicinity where you plan to install the humidifier does not ever drop below freezing. Extremely low temperatures can cause the humidifier system to malfunction.
Determine the space your home has in cubic feet and purchase a properly sized whole-house humidifier accordingly.
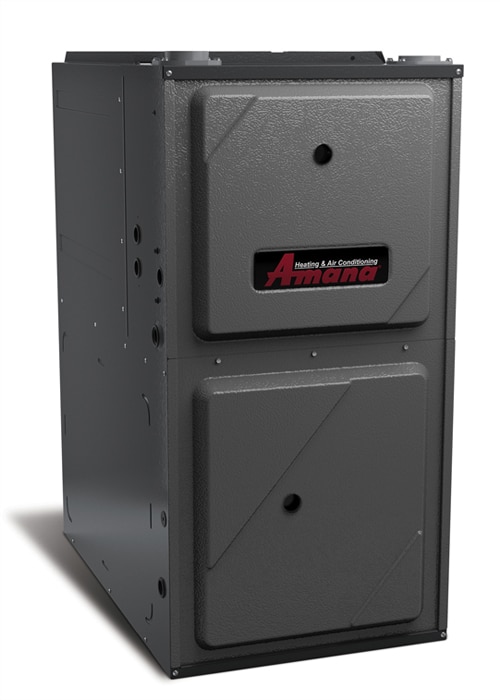
Decide which kind of whole-house humidifier is best for your budget and home. A flow-through system is less likely to have mold form in its water reservoir, a drum system is usually the cheaper of humidifier types, and a spray mist system uses electronic sprayers, therefore it should only be used in oil or gas heating systems.
Enlist the assistance and/or guidance of a certified electrician to ensure no mishaps take place during installation.
How to Install a Humidifier
Turn off the heat and electricity sources to the furnace.
Choose where the humidifier would best be installed. In many furnaces that do not have blowers, the humidifier can be attached to the plenum, a large duct where air is recirculated. So, tape the template found in the installation kit to the return air duct. To properly place the humidifier, utilize a level to position the template so that the humidifier’s water reservoir is even with the make of the duct.
Put on thick leather gloves while preparing to drill and cut the required holes. Tin is an extremely sharp metal.
Follow the instructions provided in whole-house humidifier kit and drill mounting holes according to the recommended bit sizes. Four guide holes will have to be larger sizes than the four mounting holes.
Use the template found in the kit to establish where eight holes will be drilled. Use a sharp tool like a flathead screwdriver or something similar, to place an indentation in the center of spots where each of the eight holes are to be drilled.
Drill four holes that are necessary for the screws at each of the four corners. Then there needs to be four other holes drilled on the inside of the corner holes that will act as guides for the cutting of the rectangular humidifier opening. These holes will make cutting the necessary shape easier.
Cut the space where the humidifier will be attached using the tin snips provided in the whole-house humidifier kit. Connect the dots, one hole to the next, cutting a rectangle.
Final Installation Procedure
Install the humidifier. Taking a screwdriver, bolt tightly the screws provided in the kit to attach the humidifier to the plenum. Or you can mount the humidifier to the duct by using a collar and by using duct tape to seal the connection to secure it even more into place, but the screws may be sufficient.
Connect the valve that supplies water to a copper-made water line. This is where professional assistance may be needed. First, turn the water supply off. Then, open a faucet to relieve water pressure in the home. Measure to whichever closest cold-water line and ensure the kit-provided plastic tubing will reach from the water line to the humidifier.
Attach the humidifier via tubing to the water supply valve. If there is excess tubing, then cut the extra length by using a utility knife. Fasten both compression fittings from the kit to the opposite ends of the water line. Link the fittings with an open-end wrench to secure them tightly.
Final Result

If you have any additional questions please feel free to Contact Us